- A+

Learn how to run a node on Taiko Network and join to incentivized test net, Earn rewards and benefits.
My Telegram Group ( Ask Your Questions)
My Telegram Channel (New Articles)
Hetzner Datacenter (Sign up And Earn 20$)
Order Your Ledger Wallet (Support me)
Introduction to Taiko
ZK-Rollups scale computation by executing, aggregating, and proving transactions off-chain, and relying on Ethereum for data availability and validity proof verification. The biggest drawback of the currently in-production ZK-Rollups are that they cannot support the generalized computation of the EVM exactly, but instead are mostly application-specific. This breaks compatibility with existing Ethereum L1 smart contracts and dapps, and further, makes it difficult to build new ones that offer the same type of composable, expressive experiences.
Ethereum-equivalent ZK-Rollups, sometimes called ZK-EVMs, are the holy grail of layer-2 scaling solutions in that they do not compromise on security or compatibility. In recent parlance, Taiko aims to be a type-1 ZK-EVM, which prioritizes perfect EVM/Ethereum-equivalence over ZK-proof generation speed.
Taiko consists of three main parts: the ZK-EVM circuits (for proof generation), the L2 rollup node (for managing the rollup chain), and the protocol on L1 (for connecting these two parts together for rollup protocol verification).
Before start:
Running a node or participate in a test net is at your own risk, there is any guarantee about airdrop and rewards or points.
Part 01: Order And Configure A Cloud Server
You need to rent a cloud server at first , cloud servers have some advantages:
- High Availability
- High Scalability
- Multi Locations
- Easy to Config
- Cheap
Note: Hetzner datacenter presents hourly payment option.
Minimum Hardware Requirements
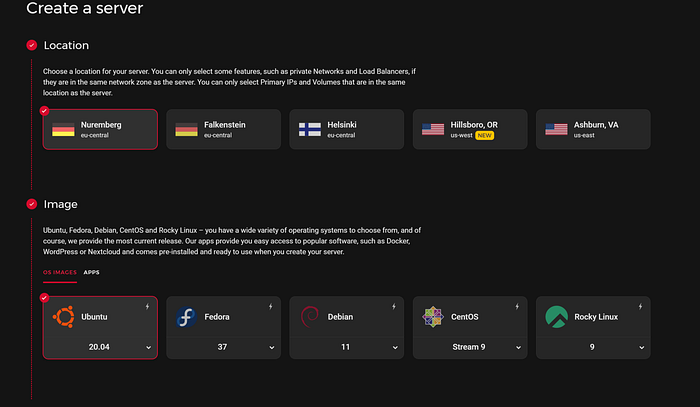
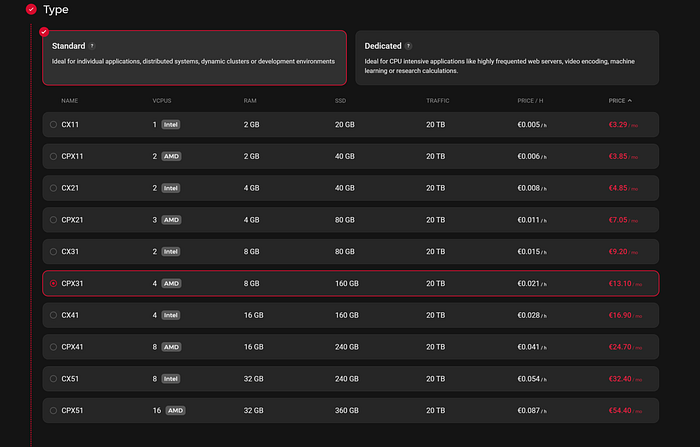
Run a node: CPU: 2vCore, RAM: 2GB, SDD:20GB, OS: Ubuntu 20.04
Run a prover: CPU: 8/16 vCore, RAM: 32GB, SDD:80GB, OS: Ubuntu 20.04
1.If you don’t have a account in a server provider, use this link to sign up and earn €20 for new signing up
2.Click on continue button

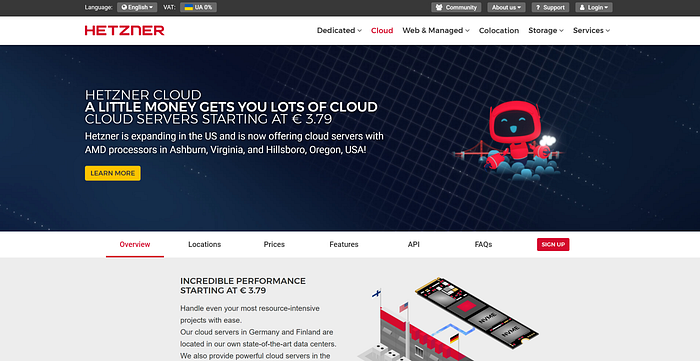
3. In the hetzner website click on sign up button
4. Click on REGISTER NOW button
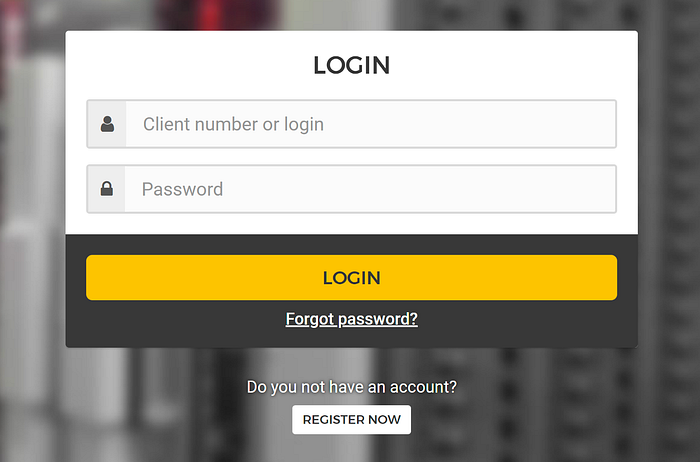
5. Fill the form and continue
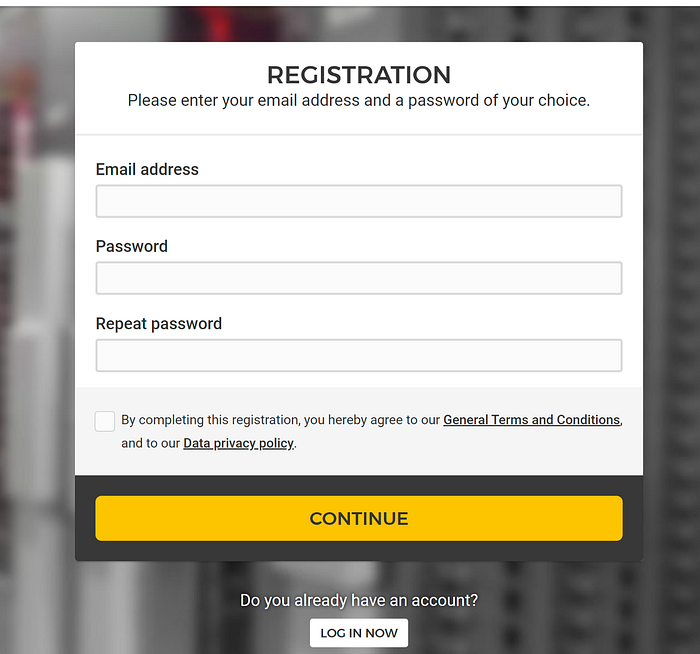
6. Do KYC and enjoy it.
7. Click on <+ New project> and add a name project then in new page, click on Add Server

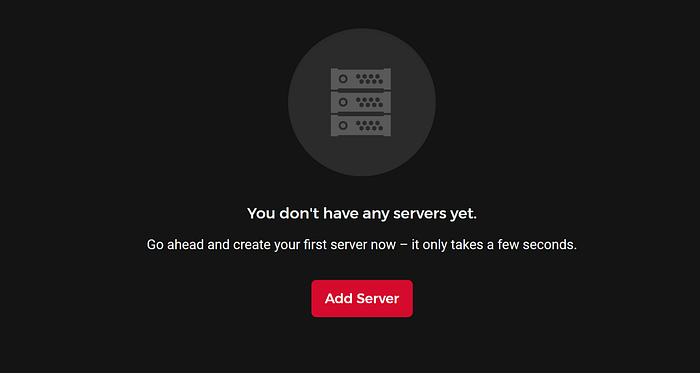
8. Choose your location, OS and hardware based on minimum requirements then write your server name and click on <create and buy> button
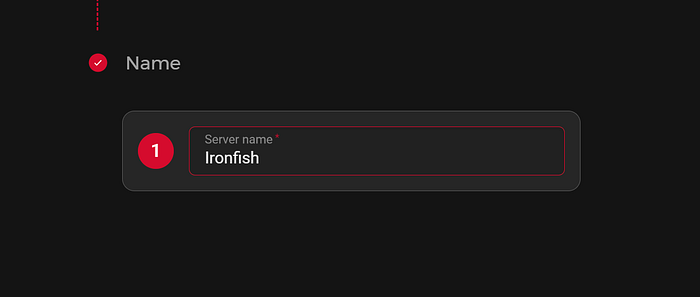
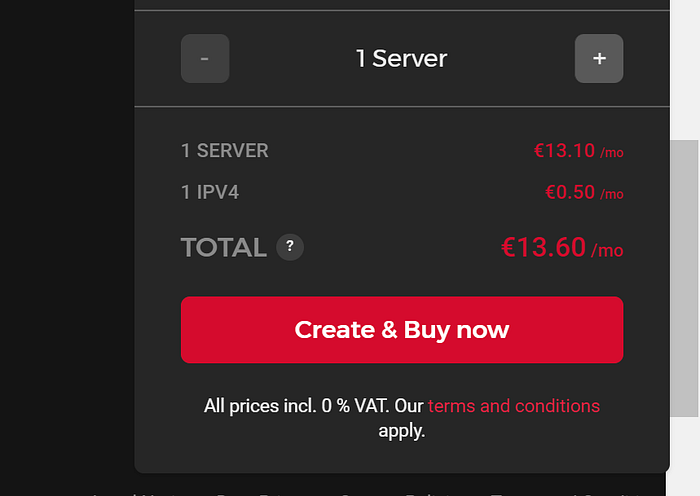
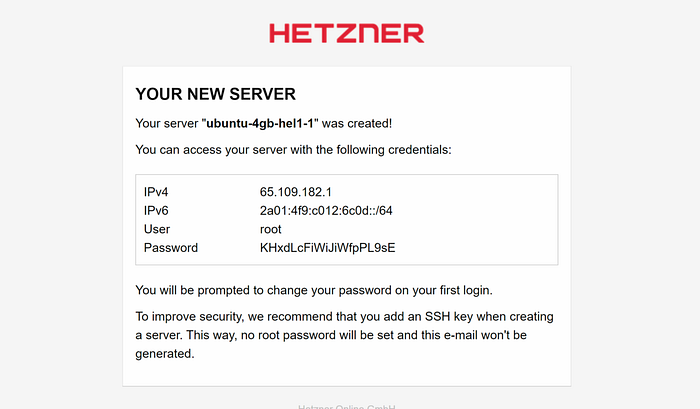
Note: An email will be sent about your server like: IP and Password, check your mail box and use the information to connect to server.
Part 02: Connect To Your Server
MacOs: To connect via SSH from this operating system, first open the Terminal window. You can find this tool by going to “Application->Utilities->Terminal”.
Windows: you can use many tools like putty and MobaXterm
1.Download one and lunch the application
2.Use information which has been sent to your email address
3.Copy IP and enter in app and click on Open button
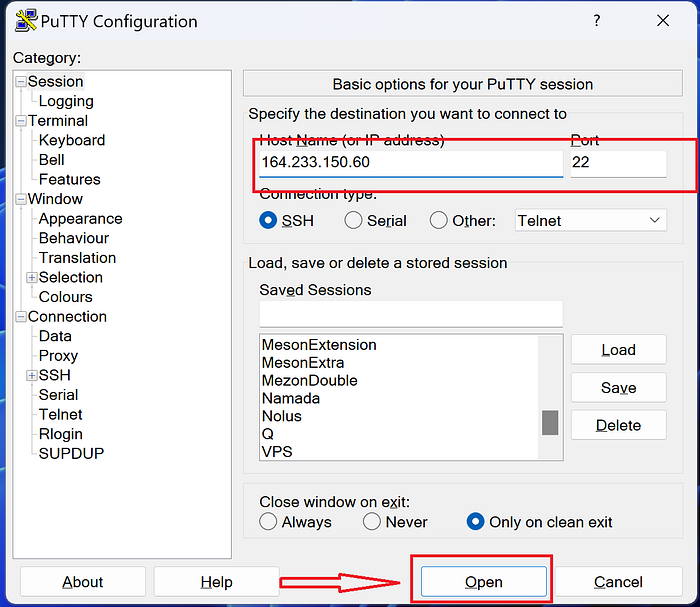
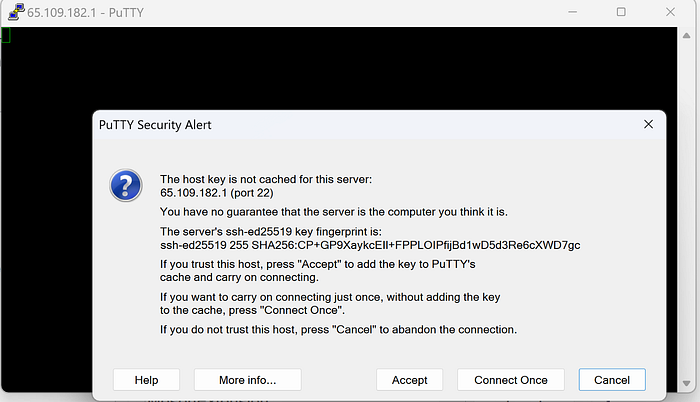
4.Click on “Accept” button , Enter your username and password which sent by Hetzner
Note: To paste any command that you have already copied just right-click where you want to paste the command
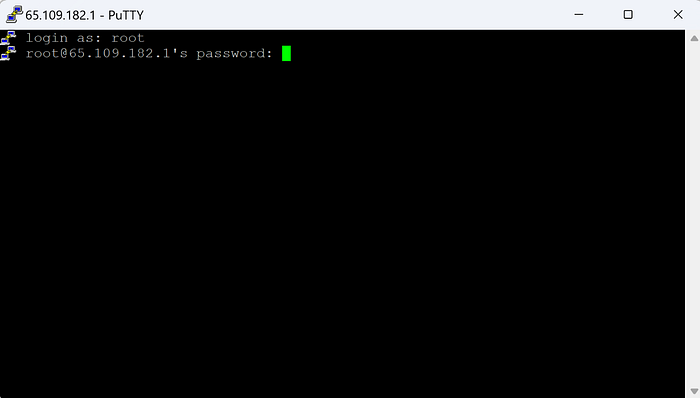
5.Enter or paste your password again and type new password and retype it again.
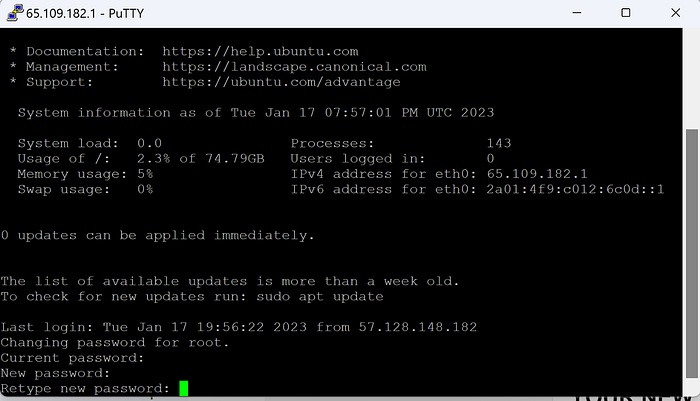
Finally you are on server, now you have permission to write or paste commands.
You should paste or type step by step the following commands that I have written.
My Telegram Group ( Ask Your Questions)
My Telegram Channel (New Articles)
Hetzner Datacenter (Sign up And Earn 20$)
Order Your Ledger Wallet (Support me)
Recommendation:
I strongly recommend to install the Gaga node next to your node because it consumes a few hardware and you are able to get the most out of your server.
Part 03: Preparation
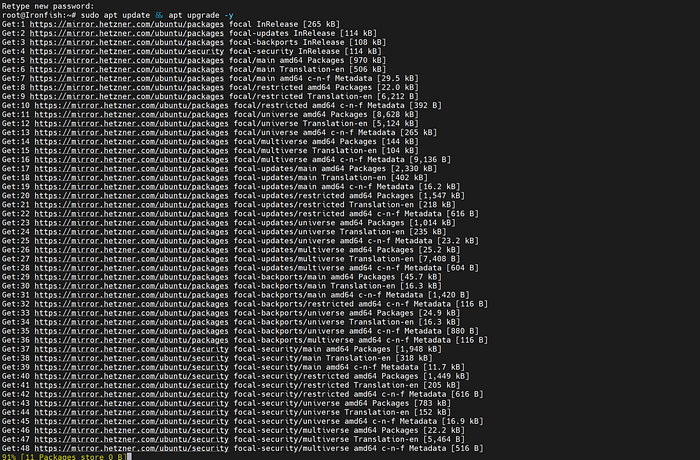
1.Update & Upgrade Server
Before you get start, need to update and upgrade server
sudo apt update && apt upgrade -y
2. Install Prerequisties
Copy and paste the command below when terminal asks you, enter Y and press ENTER on your keyboard.
sudo apt install pkg-config curl git-all build-essential libssl-dev libclang-dev ufw
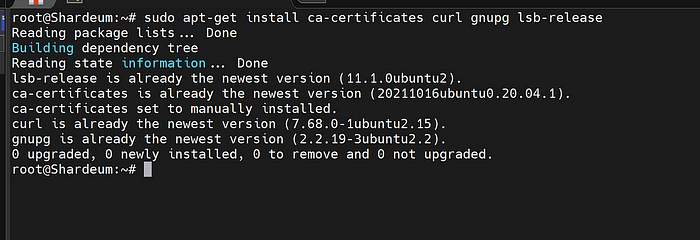
3.Install Docker
You shoul install the Taiko node by docker, following commands help you to install that.
sudo apt-get install ca-certificates curl gnupg lsb-release
Add Docker’s official GPG key:
sudo mkdir -p /etc/apt/keyrings
curl -fsSL https://download.docker.com/linux/ubuntu/gpg | sudo gpg --dearmor -o /etc/apt/keyrings/docker.gpg

Use the following command to set up the repository:
echo \
  "deb [arch=$(dpkg --print-architecture) signed-by=/etc/apt/keyrings/docker.gpg] https://download.docker.com/linux/ubuntu \
  $(lsb_release -cs) stable" | sudo tee /etc/apt/sources.list.d/docker.list > /dev/null

Try granting read permission for the Docker public key file before updating the package index:
sudo chmod a+r /etc/apt/keyrings/docker.gpg
sudo apt-get update

To install the latest version, run:
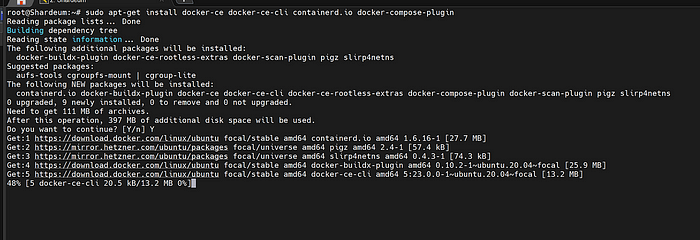
sudo apt-get install docker-ce docker-ce-cli containerd.io docker-compose-plugin
When command prompt asks you, type Y and press ENTER on your keyboard.
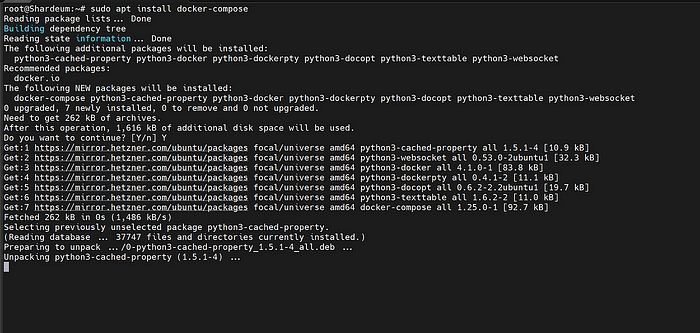
To install docker compose:
sudo apt install docker-compose
When command prompt asks you, type Y and press ENTER on your keyboard.
Verify that the Docker Engine installation is successful by running the hello-world image:
sudo docker run hello-world
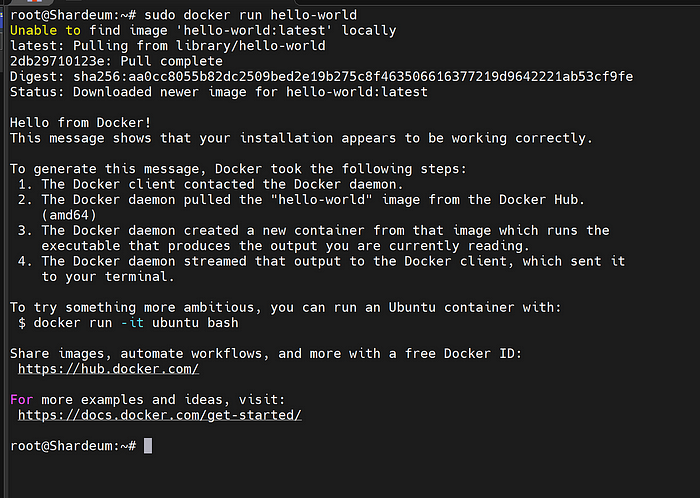
Check docker compose version:
docker-compose -v

4. Install Screen
Linux Screen provides users an option to open several separate terminal instances within a single terminal window manager. Screen also includes an enhanced command line, giving you extra features and functionality over a standard command line.
More commands about screen .
sudo apt install screen
4.Create a new session by screen .
sudo screen -S <Your Session Name>
Replace <Your Session Name> by name of your choice
sudo screen -S taiko

My Telegram Group ( Ask Your Questions)
My Telegram Channel (New Articles)
Hetzner Datacenter (Sign up And Earn 20$)
Order Your Ledger Wallet (Support me)
Part05: Install and Run The Node
1.Download The Node
git clone https://github.com/taikoxyz/simple-taiko-node.git
cd simple-taiko-node

2.Configure The Node
cp .env.sample .env
Edit the configuration file by the command below and copy/paste the saved http/ws keys in last step according to sample. Arrow in image show where you should paste keys.
nano .env
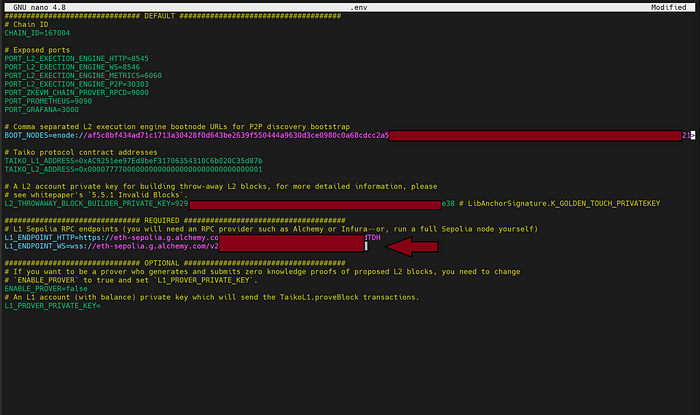
Press Ctrl + X and type y then press ENTER on your keyboard.
3.Enable A Prover (Optional)
Note: If you are going to enable a prover so you need to choose max hardware configuration mentioned in Part01.
Set the following environment variables to enable your node as a prover:
- Set
ENABLE_PROVERtotrue(replacing the defaultfalsewithtrue). - Set
L1_PROVER_PRIVATE_KEYto that of your wallet's private key; it will need some balance on Sepolia to prove blocks
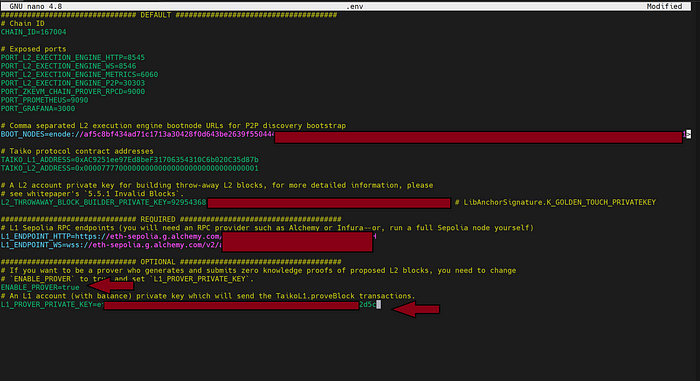
Press Ctrl + X and type y then press ENTER on your keyboard.
4.Start The Node
docker compose up
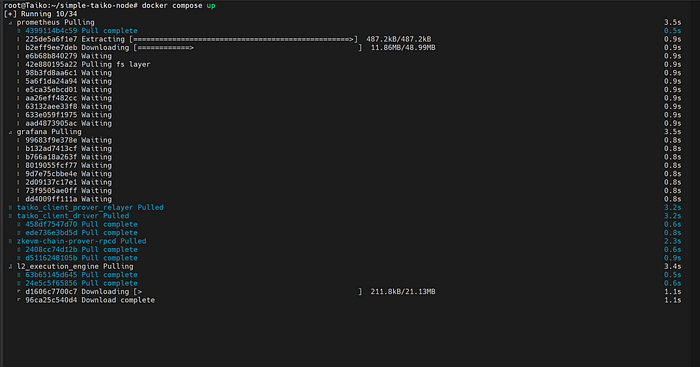
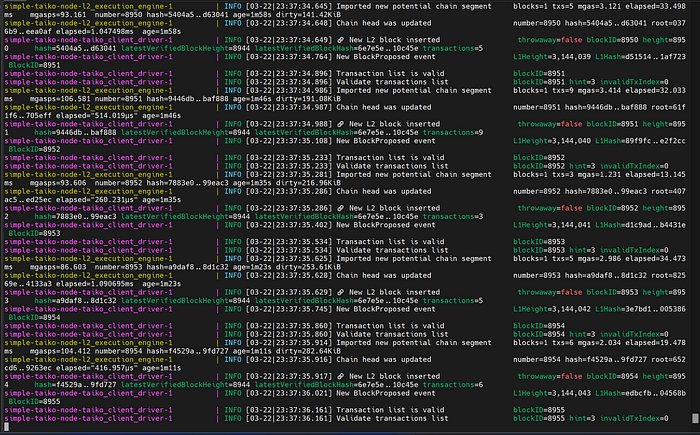
Press Ctrl and A + D to detach screen session.
5.Some Commands (Optional)
Stop a node
This command shuts down the node, but will keep all volumes, so next time you restart the node, it won’t need to synchronize from the genesis again.
docker compose down
Remove a node
These commands will completely remove the node by removing all volumes used by each container:
docker compose down -vrm -f .env
Update a node
Update the simple-taiko-node Docker images:
docker compose pull
View all logs
docker compose logs -f
View the prover image’s logs
docker compose logs -f taiko_client_prover
View the L2 execution engine logs
docker compose logs -f l2_execution_engine
Part06: Complete Tasks
You need perform tasks to complete test net, for now you have run the node.
Thanks for your time. If you need some supports, can join our community also can study other active projects.
- 我的微信
- 这是我的微信扫一扫
-

- 我的微信公众号
- 我的微信公众号扫一扫
-


